|
This is my final learning post! In EDTC 300, we had to learn something independently using the online sources. This experience was engaging because we could all pick something different and of interest to us individually. When starting this learning project I didn't think I was going to improve my watercolour painting skills so much. I am impressed with how far I have come in the last 2 months. I used sources such as YouTube and Pinterest to learn how to paint with watercolors. These sources were both very helpful as images and videos were a good way to learn painting. Reading a book on how to paint would not be easy because it would be hard to visualize. My Learning Journey... Week 1: Relearning and Improving In the first week I shared my previous watercolor paintings I had attempted in the past. These painting needed some work. I didn't know much other than the materials I needed when I tried for the first time. I had a lot to learn! Week 2: Testing out Techniques This week I learned about many watercolor painting techniques. There are so many ways to use watercolors. There are no wrong ways to paint. I used some of these techniques in my following learning experiences. Week 3: My Seesaw Learning Portfolio! During this week I learned about the platform SeeSaw as a way to showcase my paintings for the week. I painted some basic starter paintings this week just to get the hang of the consistency of water and paint. Week 4: Many Flowers, All Different This week I painted all types of flowers. These were many different kinds of flowers. These flowers were all so different to paint and all look different. Flowers are a very basic thing that can be painted and the complexity can advance in the future. Week 5: Painting Summer Vibes! During this week I was inspired by fruit painted on a box. These paintings were so summery and fun to paint. I thought these fruit paintings would be so great to make into cards. Week 6: Painting a Little Bit of Everything! The last week of the learning project I painted all sorts of things! I have really improved my skills since the very first week. I am so proud of myself! I hope to continue painting and improving my skills.
From this to this! I can't believe the difference! I committed to this learning project. I am defiantly not at this stage of watercolor paining yet. I can see the effort I put into improving my painting skills! I am so happy with where I am now and there is only room for more improvements! For anyone who is wanting to try and learn how to watercolor paint, start with YouTube. There are some fantastic vidoes on there that are so helpful when it comes to learning. I am going to continue to paint using YouTube and Pinterest because they both had great inspiration and tips. I cant wait to see where my skills go from here! I am so glad I chose watercolor painting as my learning project because it made me sit down and actually put time into practicing. I have wanted to get more into painting for years, but haven't found the time to work on it. This learning project is now over, but I am going to make a promise to myself and continuing to make time for watercolor painting. I found it so relaxing and enjoyable that it would be good for my health to continue! My grandma who is a painter is so happy and excited that I enjoyed watercolor painting! I was sending her pictures every week! She is amazed by my progress I made from the online sources. I am sure she will want to paint with me very soon!
0 Comments
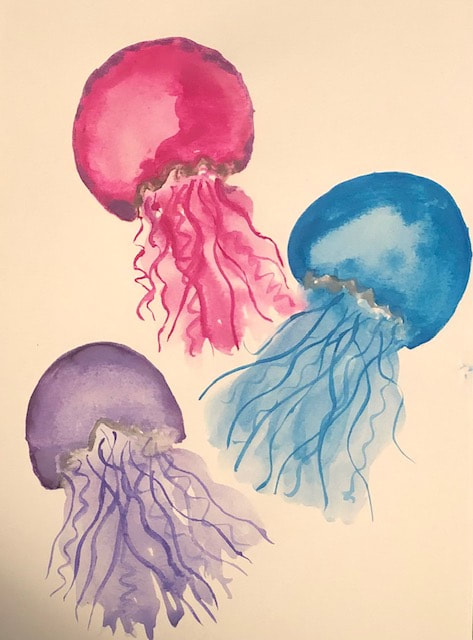
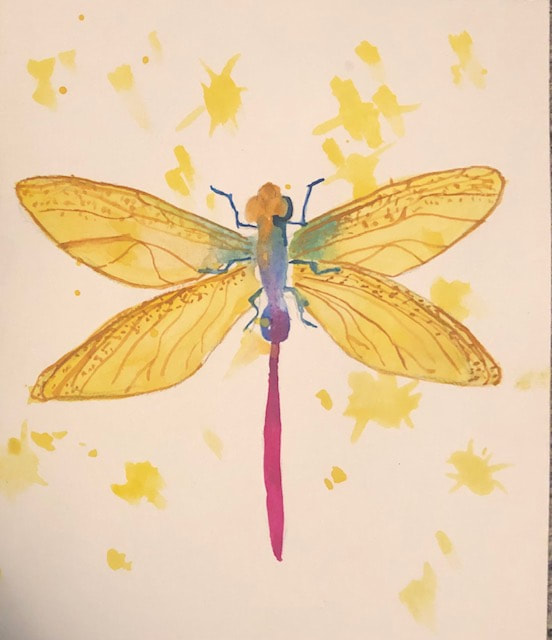
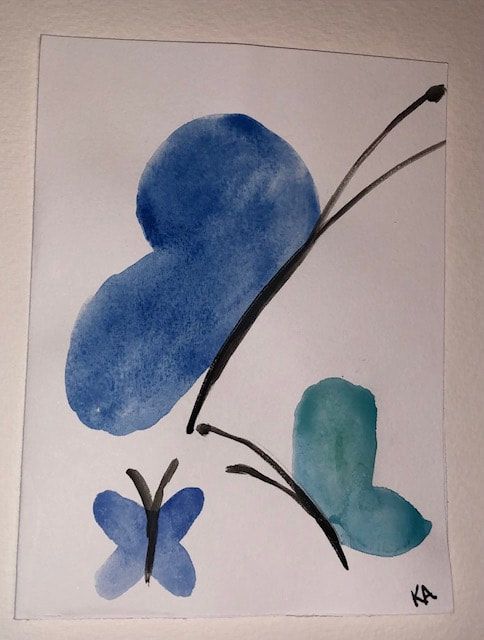
This passed week I had lots of time for painting on my days off. This week my paintings don't have a theme at all. I didn't know what I should paint when I started. I simply went to YouTube and searched watercolor painting tutorial. I looked through the videos and found a couple that I thought I should try first! I picked to paintings to make a time lapse of me painting them! I have never made a time lapse before, but it was very easy! The hardest part was to find a way to get my phone in a good place above me for a video! SIDE NOTE: the contraption holding my phone up to make these videos was very tippy and made out of everything from glues sticks to candles! I hope you enjoy the quick videos of me painting and my final products of the week! This is the time lapse of me painting a dragonfly. This video cut out as I was waiting for the wings to dry completely. It does not show me painting the fine details on the wings! The final product is below! This is me painting jellyfish! In this time lapse it is hard to see the bottom purple jellyfish be painted. I didn't realize this until I was done painting. The final product is below! The Final Product!
I had time to paint more this week!
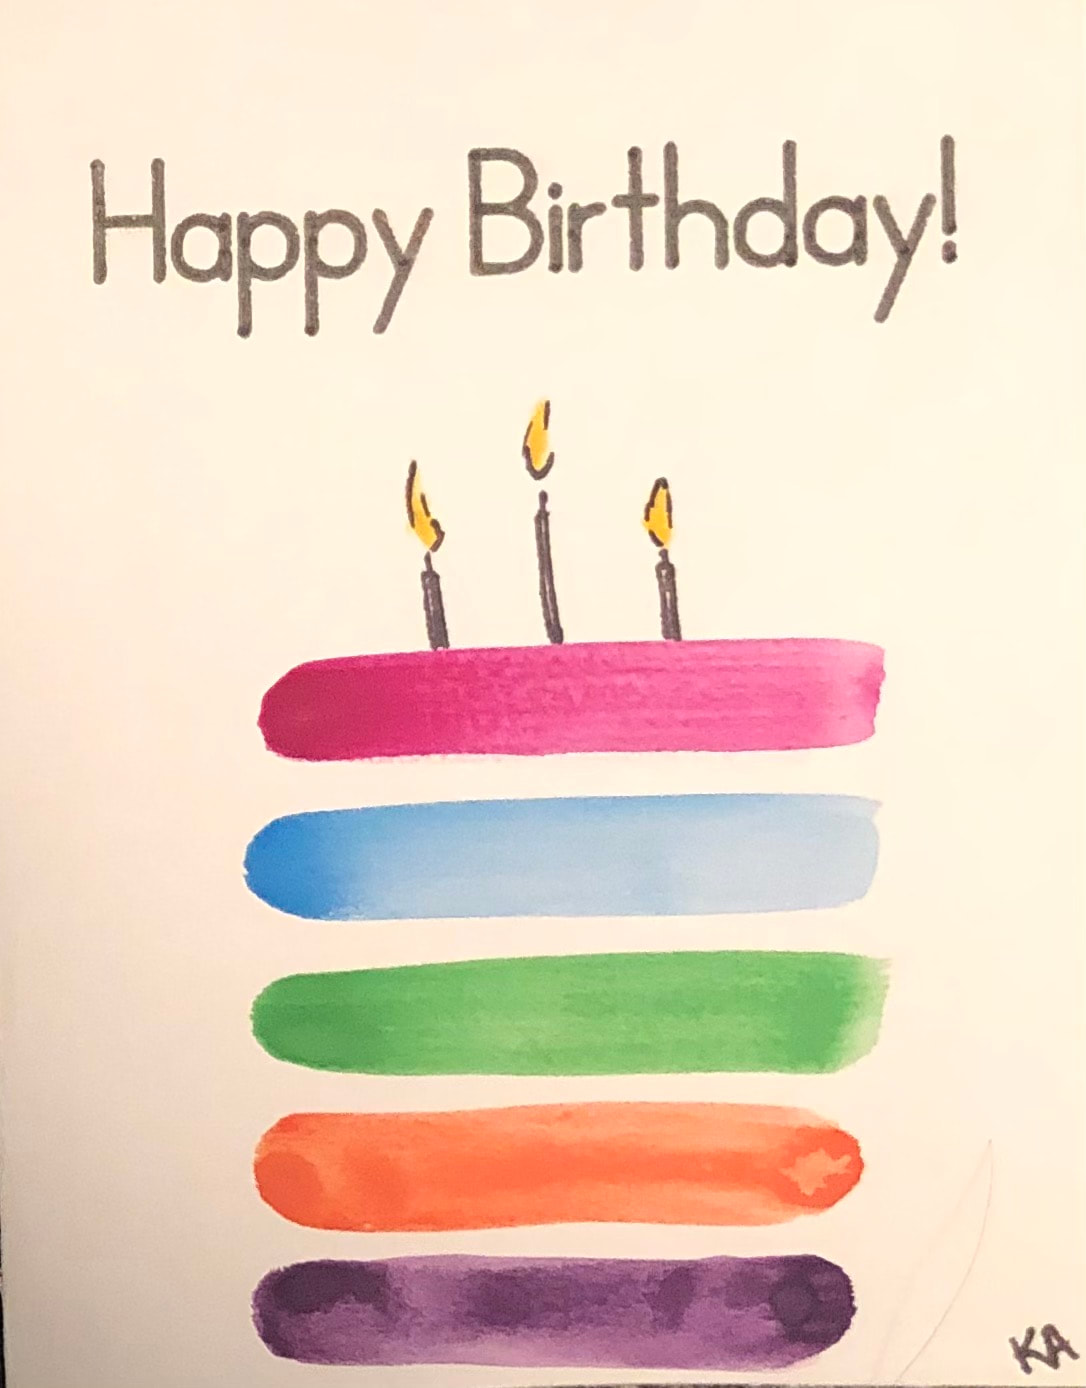
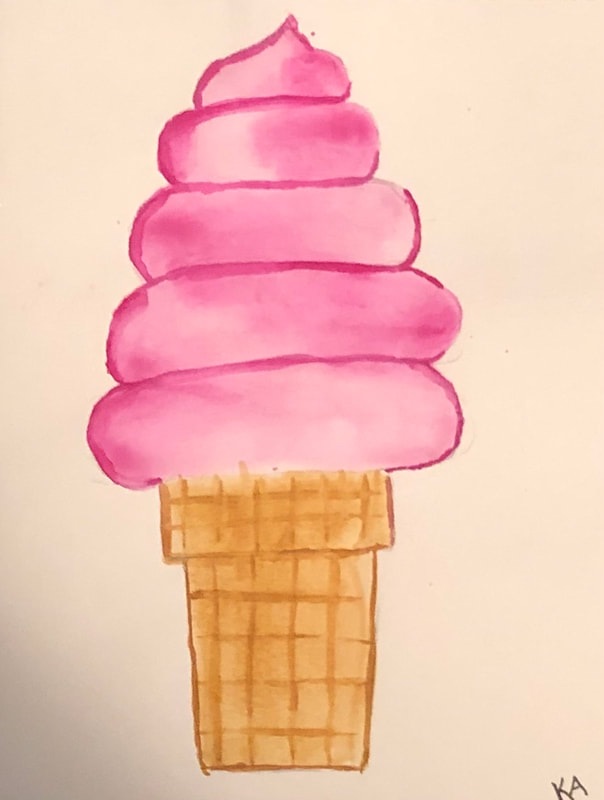
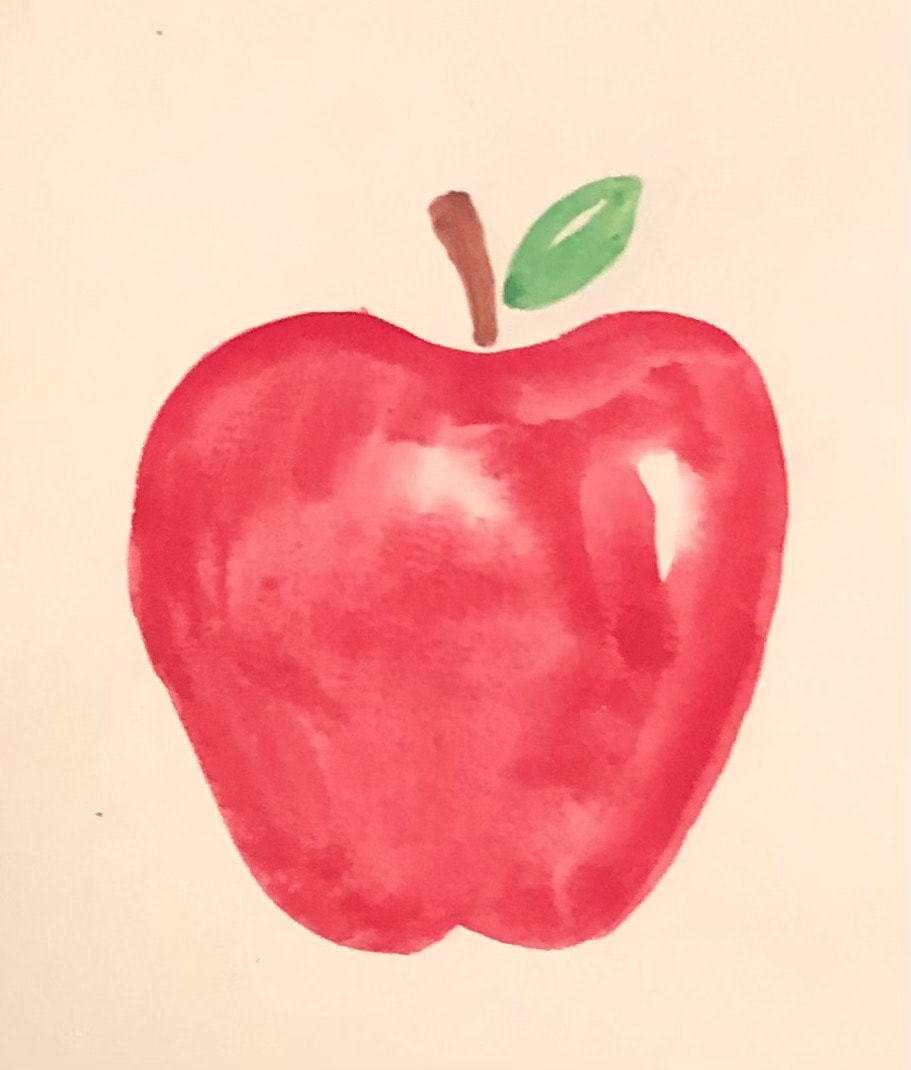
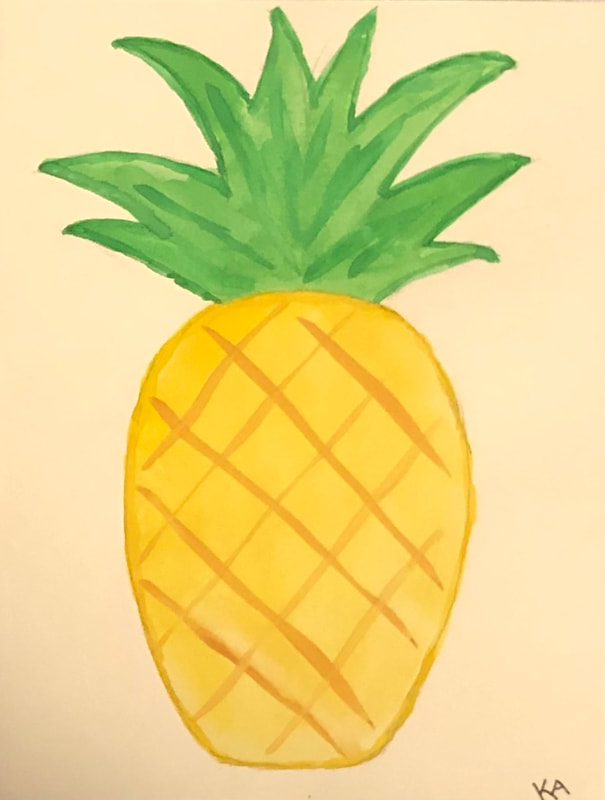
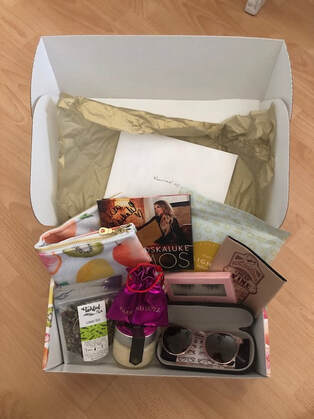
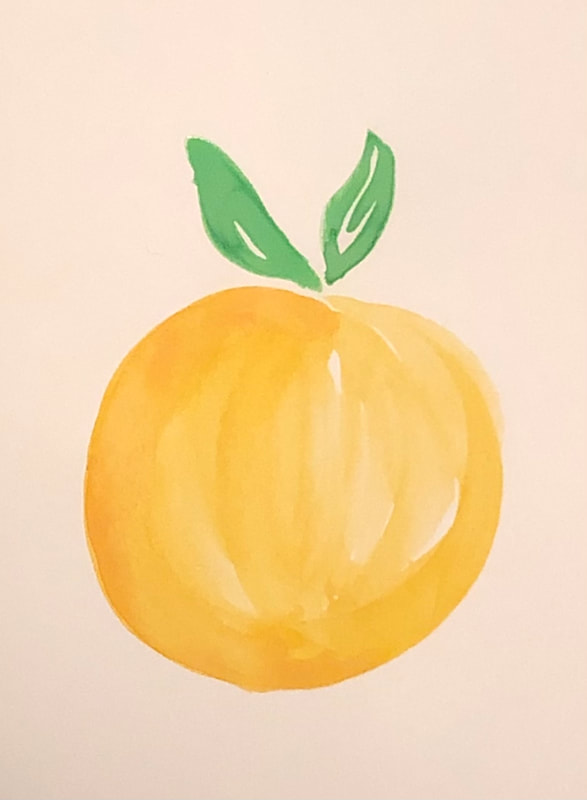
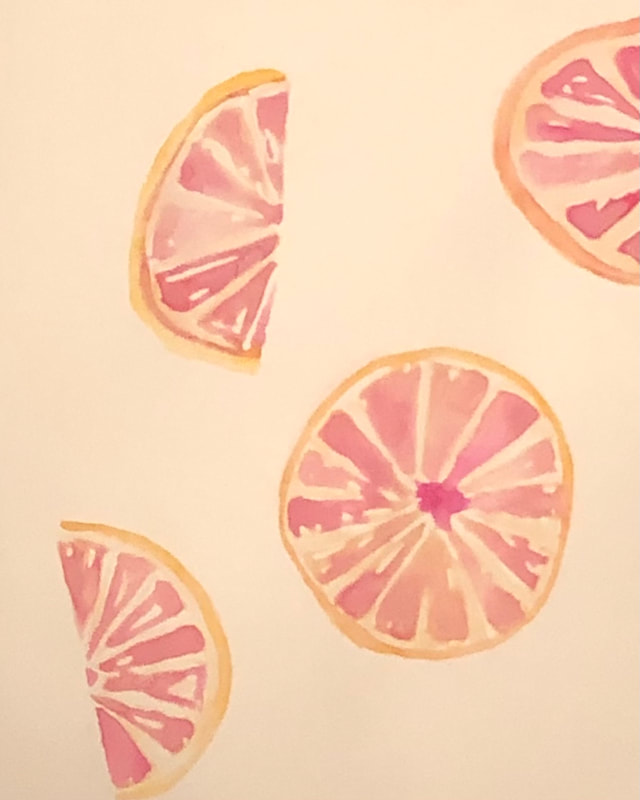
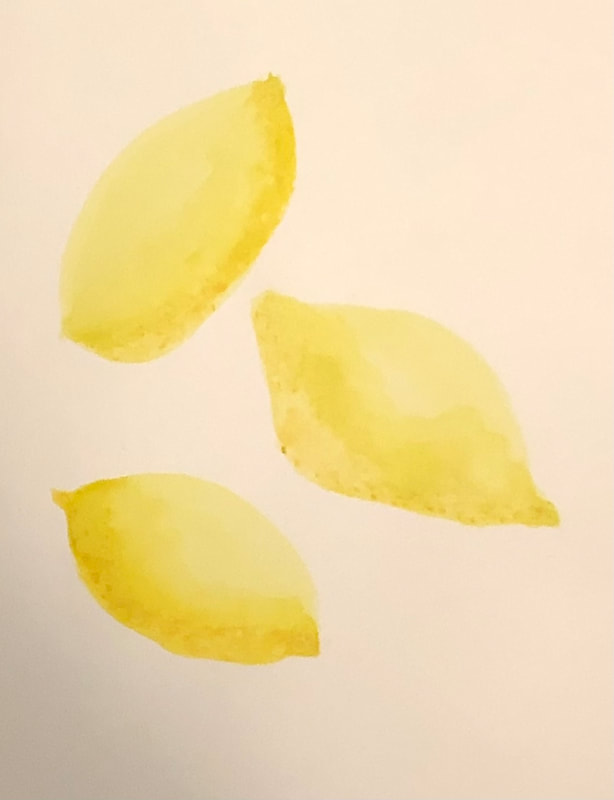
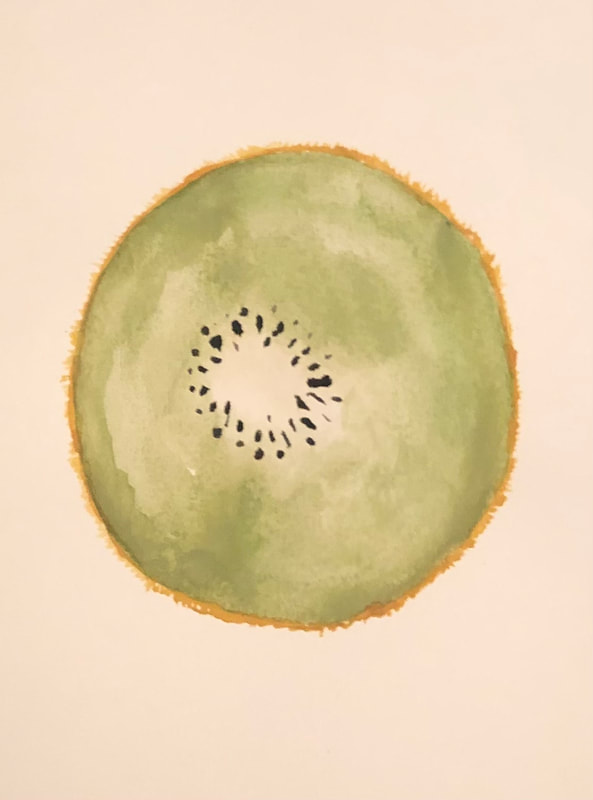
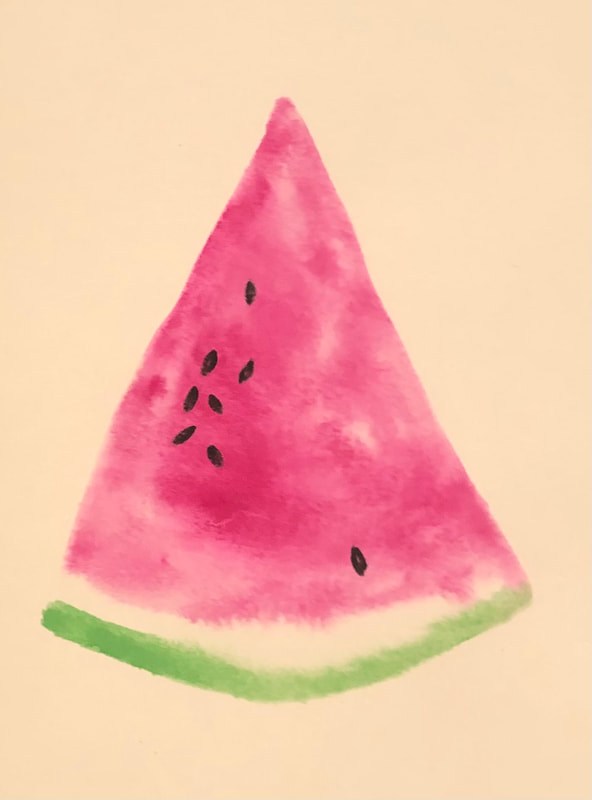
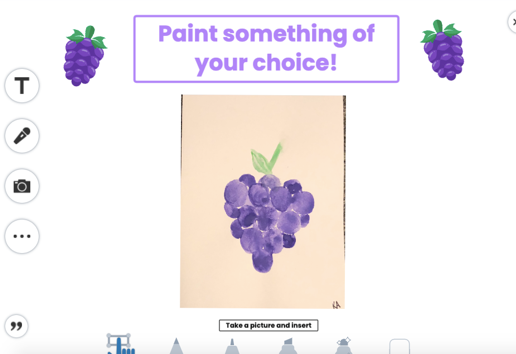
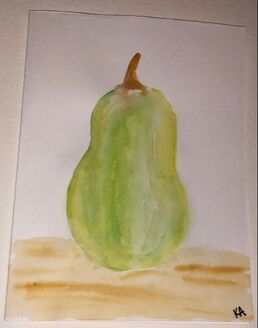
Recently, I received this beautiful box as a gift from my grandma! This week when I was putting it away I realized the fruit on the box looked like watercolor! I decided to try paint the fruit off of the box! I also used some images and videos to hep me! 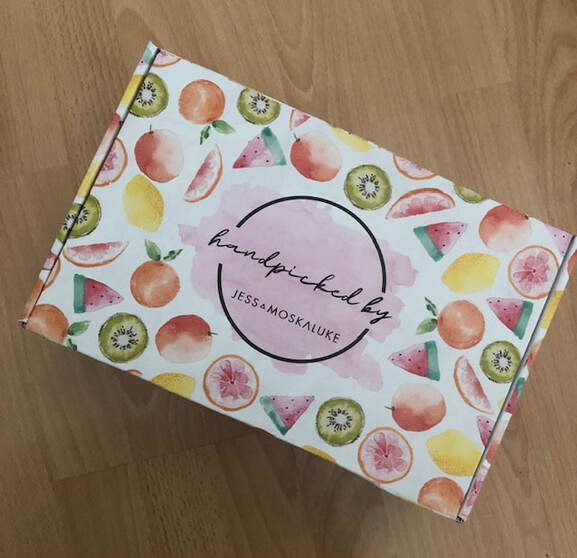
I think all of my paintings this week turned out well. I am happy with all of them! I am glad I took a minute to observe this beautiful box this week. When making this post, I realized I missed painting one fruit on the box. Can you find it? To be honest I'm not even sure what that last one is supposed to be. I didn't use as many online sources this week, but it was still a beneficial learning week! I might have to go back and make these fruit paintings into fun cards because there are some great ideas I found.
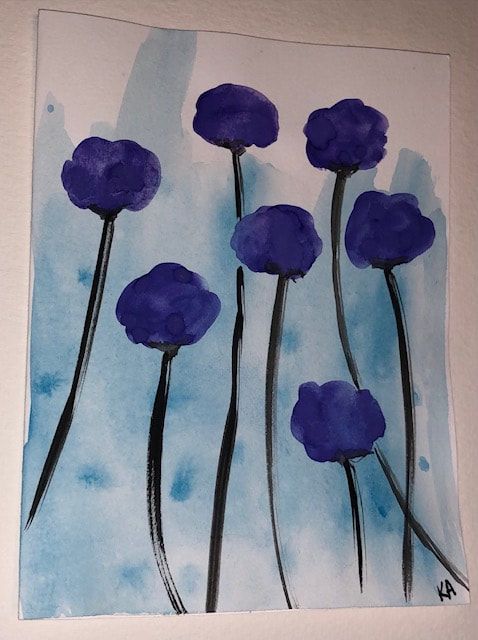
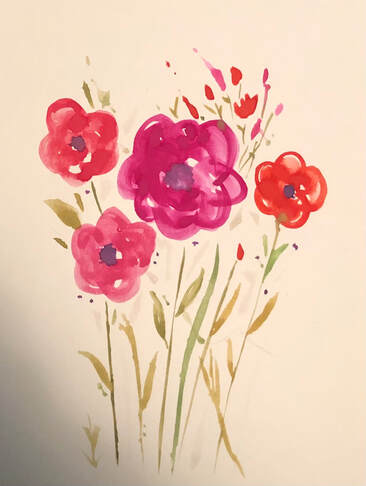
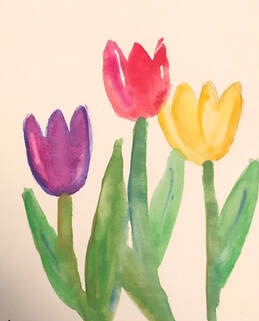
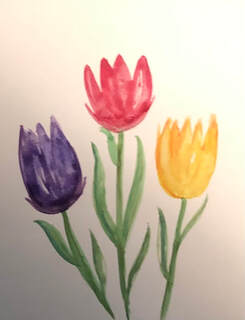
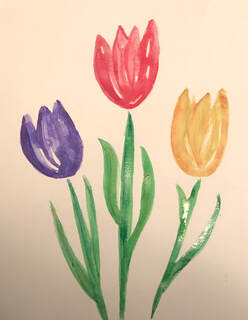
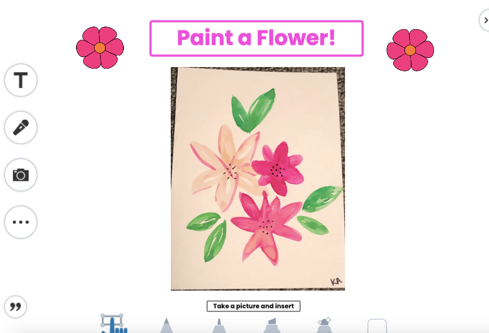
This week I worked on painting flowers! There are so many kinds of flowers that could be painted. No flowers is the same, so it is ok if they are different. Flowers can be painted in an abstract or precise way depending on the look you want. Some of the flowers I painted I like and some I absolutely hate! And I'm going to say it in this post too, the pictures of the paintings cover up lots of the mistakes! They look much better in the pictures than they do in real life.
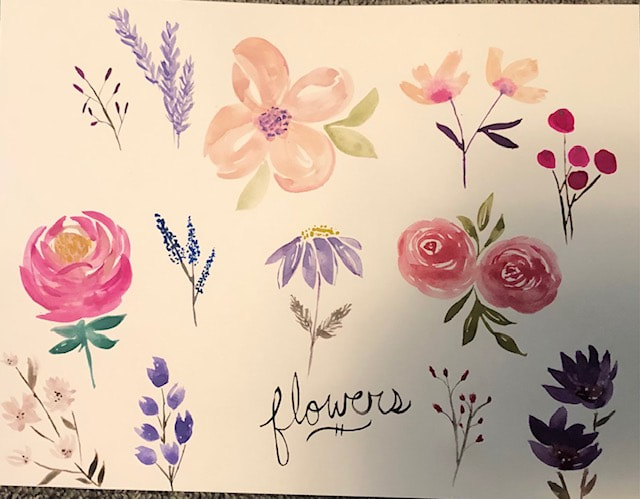 My favorite flowers I painted from this tutorial are the purple daisy in the middle and the roses to the right! This video was very easy to follow and helpful to learn from. All the flowers that are just small buds were easy! I hate the light pink little flowers at the top and the dark purple flowers in the bottom corner. The little light pink flowers at the top just look like a mess because I added the center color before it was dry and the dark color spread into the whole flower. I tried to fix it, but then I just gave up because I didn't think it was fixable. The dark purple one in the right corner don't even look like flowers. I think maybe I had too much water or it was too dark of a color. These could be improved if I kept practicing them over and over. And just a side note, I painted the word flowers and I am very impressed because I have tried to paint words before and they usually are a mess! I think the trick is to use a skinny long brush because that is what I used for this. All of these tulip paintings are based off of the same idea, but changed to make it my own. These are all the same, but yet very different from each other, and also very different from the picture. I painted them all! There are parts of each of these paintings that I like and dislike. I thought I could do better than I did on the first, so I did the second and disliked it more than my first. I had to do the third because I was so mad how horrible my second one was. I still can't decide if I like the first or third painting more! Which one is your favorite?
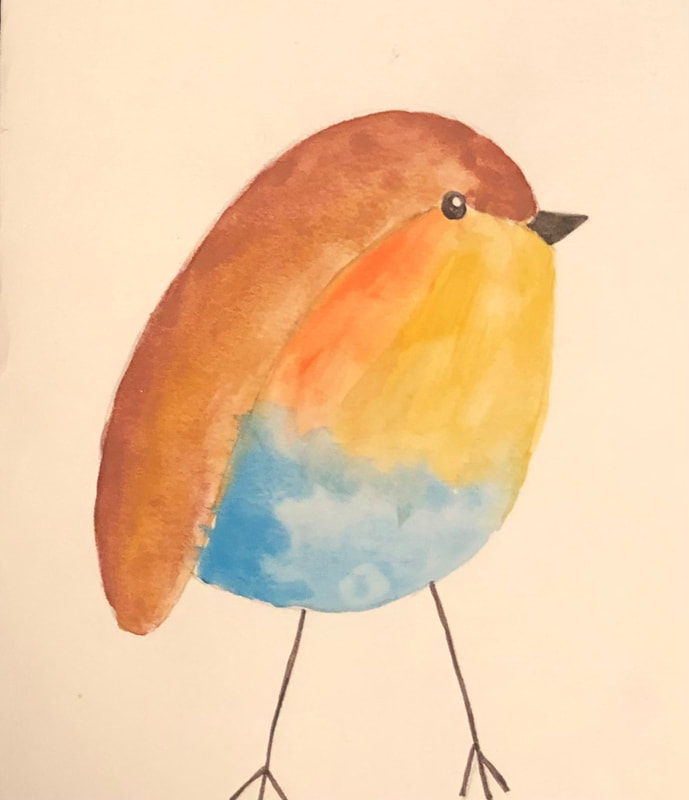
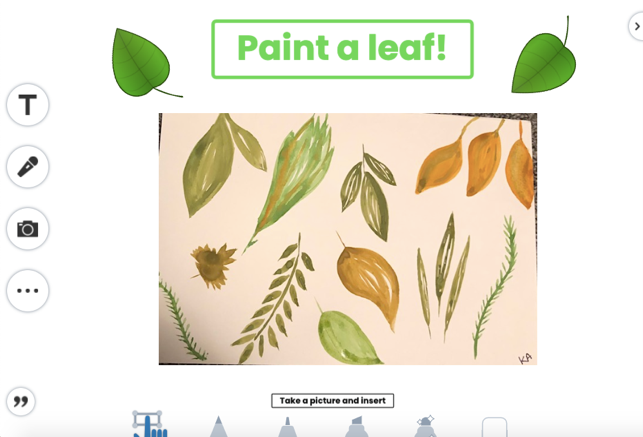
I am happy with all of the painting I did this week! I did have a practice sheet I played around on before to check if the water to paint ratio was good to use. I also got inspiration for most of them or watched videos and followed the demonstration! I would just like to mention before you look at them, all of these painting look better in the pictures than they actually are.
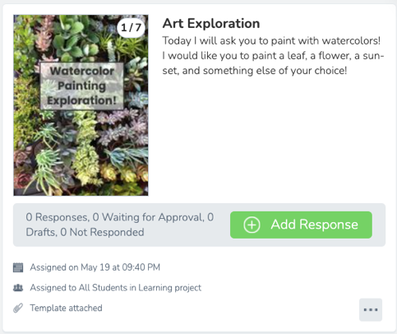
For the last part of this activity, I thought it would be a good idea to get my students to share their thoughts about their painting experience! I also wanted to try out some other features Seesaw offered! I have answered the questions according to my experience! 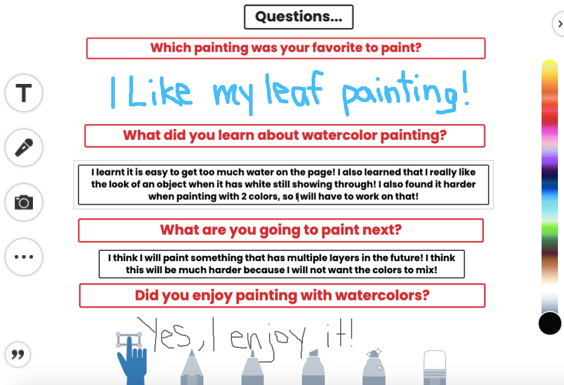 Overall, I found Seesaw a very easy and fun program to use! I might use this activity with my students one day! And I know I will defiantly be using seesaw in my future classroom! I would defiantly recommend teachers check this program out!
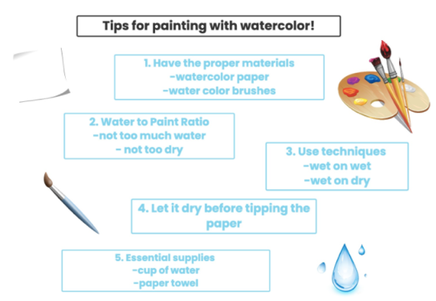
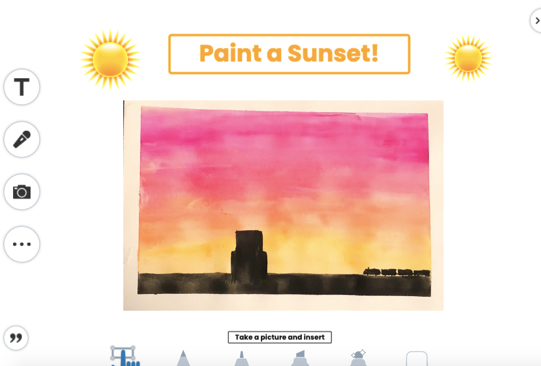
I watched a YouTube video called Essential Watercolor for beginners: Techniques. I followed along and painted with the video and did all of the techniques demonstrated. This video was very easy to understand and follow. I started by taping my watercolor paper to work area so my paper didn’t curl up or move while I was painting. Then I taped square sections onto my paper, so each square was perfect and paint didn’t not run all over the place. I had all my supplies ready to go such as my brushes, water, paints, and water color paper. Each technique has a different look which makes them each unique! The wet in wet is a very basic technique. When I did this one I realized the paint does what it wants, and it is hard to control when applying the paint to the wet surface. I found this technique took a long time to dry. The drop color wet in wet technique is not my favorite test plot I did! I think this technique would be better used when only wanting to add a bit of color to the edge of something. I think my green spots look out of place. Maybe I should have tried blending them in a bit more to make them not so dark. I might need to practice this one a bit more before using it! The dry brush technique would be good to add when you didn’t want a solid feature. I found it difficult to get my paint dry enough on the brush to make it look dry and not smudgy. My test spot is very uneven because in some spot my brush was too wet. The salt technique was not noticeable until the salt was removed. The salt made the areas under the salt lighter. This has a small speckled effect on this spot. I think this would be good for fish scales or a frog skin. Some of the salt is still on the spot because I didn’t want to rub it too hard. The tissue blot technique is one of my favorites! I love the pattern in the paint! I blotted the tissue everywhere in the square when I did this particular one, but you could also just use the tissue to absorb the paint from a certain area. I’m not exactly sure where I would use this technique, but I will defiantly try to find a place for it! The plastic blot took a long time to dry! I was nervous about take the plastic off too soon. It is a very uncontrollable technique. This one is very dark where the paint pooled in certain areas under the plastic wrap. I think it looks very cool that I added two colors to this spot because they are very defined under the plastic. The crayon Resist is my least favorite technique that I tested out! I thought I would have liked it because it would look perfect as the drawing would have stayed white! I think I might have to give it another try and make sure my crayon likes are thinker and maybe that would make a difference. Maybe I also had too much water and it washed the crayon marks off the paper. I need practice this technique a little more! The cotton ball dab technique is another on of my favorites I did! To me it looks like paint splatters. I love that I added a bit of purple into mine. This technique is a very dry technique and is not a solid watercolor area. You could probably do this with any painting technique. I think I will defiantly use this technique in the future! The hog hair paint brush technique is another one of my favorites that I did. I used a dry bush so it absorbed lots of the water and paint. I like that it has a stripe effect but it is very faint and doesn’t stand out. I simple did wet in wet and took a stiff heavy brush and brushed up and down. I think this is very interesting because usually watercolor does not have a line effect. The other 3 plot spots I was just playing around with the paints! When doing the water drop sections I made sure my sections of clear water did not touch each other. Then, in each section I did a different color combo. I think it is so cool that the paint does not leave the watered area. I like how the green colors combined into one another. This green area could be a tree line in the distance. This will be a very beneficial technique. When doing my water in water gradient I realized this is a technique that could be used for anything that you wanted colors to really meld together. I started with a wet surface and then added the wet paint on top. This looks like a sunset because of the color combo I used. I like how these colors combined together. The water on dry gradient is more defined and did not meld together as much. This plot I started with a dry plot and added wet paint. There was a bit of leaking color because I didn’t wait for each color to dry before adding the next. If I wanted perfect lines I think I would have to let each color dry. My Technique test sheet is below! Check out all the unique techniques that I learnt from the video and some others that I made up! Which one is your favorite? 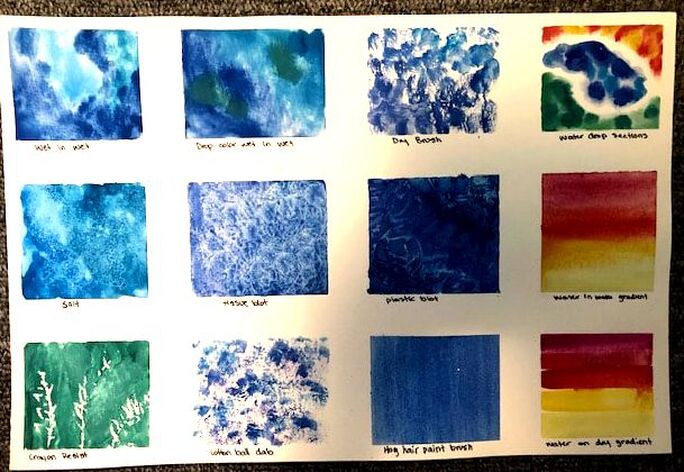 Welcome to my learning journey! I am hoping to learn how to master the art of watercolor painting! I have done some watercolor painting in the past, but most of the time the final product is disappointing. I would like to learn watercolor techniques and when to implement them for specific features. I will be starting from the basics because I can’t remember the last time I tried to paint with watercolors! My grandma has been encouraging me for a while to get into watercolor painting, but I have not had the time. She has painted many beautiful pieces. I have done acrylic painting with her because the first few times I tried watercolor they turned out to be a disaster and I gave up. My grandma bought me watercolor paints and bushes for Christmas a few years ago. The paint hasn’t even been opened! She will be so happy to know I am finally opening them and going to take the time to try to use them. From my past experience with watercolor, I find them not very forgiving. I have often added way too much water resulting in my color combining together or dripping down off the edge of the page. I have also done the opposite and didn’t add enough water to the paint try to avoid water dripping, and they turned out terrible as well. I am also a very particular person so I like things to be perfect! I have found perfection is very hard to accomplish with watercolor because sometimes the water has a mind of its own. some watercolor paintings are I hope to create more than one painting that I am proud of. I would like to be able to come up with my own painting ideas and creations. I think videos will be more useful than reading information when learning how to paint. I think the best way to learn watercolor will be through YouTube demonstration videos. I hope I enjoy and feel relaxed while painting by the end! I can’t wait to get started!
These are previous watercolor paintings I did many years ago! I hope to improve because I am not very impressed with these paintings! I think these demonstrate too much water and not enough water being used. They are also very basic in the sense I only used one or two colors to paint. I think I could improve if I spent more time practicing and learned proper techniques!
|

 RSS Feed
